Connect Wirelessly to Epson Classroom Projectors
Free yourself from the podium in classrooms with an Epson projector by wirelessly connecting a Windows or macOS laptop, iOS, or Android device with the help of Epson's iProjection app. The classroom projector must be Epson brand with a wireless option on the touch panel or room controls. This guide explains how to wirelessly connect.
Note: Ensure you're connected either to the uiw-employees or uiw-students WiFi. The uiw-guests WiFi option will not allow you to connect.
Prepare the Room
- Turn the room on.
- Locate the room controls or touch panel, and switch to the Wireless input.
- Verify the projector screen displays a QR code.
Connect to the Projector
- Open the Epson iProjection app on your device.
- Select Advanced Connection Mode, check the "Set the selected Connection Mode as the default..." box, then select OK.
- Select Manual Search, within the "Projector list" box, enter the IP Address value of the projector displayed next to the QR code (Ex. 12.12.345.67), then select Search.
- If entered correctly, a projector option will show on the list. Select the checkbox on the left to highlight the projector and click Connect.
Prepare the Room
Step 1: Turn the Room On
Turn on the room and projector using the Start Room button on the room's touch panel.

Step 2: Switch to Wireless Input
Once the room and projector have turned on, locate the Wireless input on the touch panel and tap it to switch to the wireless input.

Step 3: Verify QR Code Displays
Once the room is on the wireless input, wait a few moments and the screen will display some information and a QR code. This will be important later.

Note: Some of the info in the screenshot has been altered, including the red X over the QR code. This is for security purposes, but your projector will display the correct info.
Connect to the Projector
Step 1: Open Epson iProjection
On your Windows or macOS device, open the Epson iProjection app.
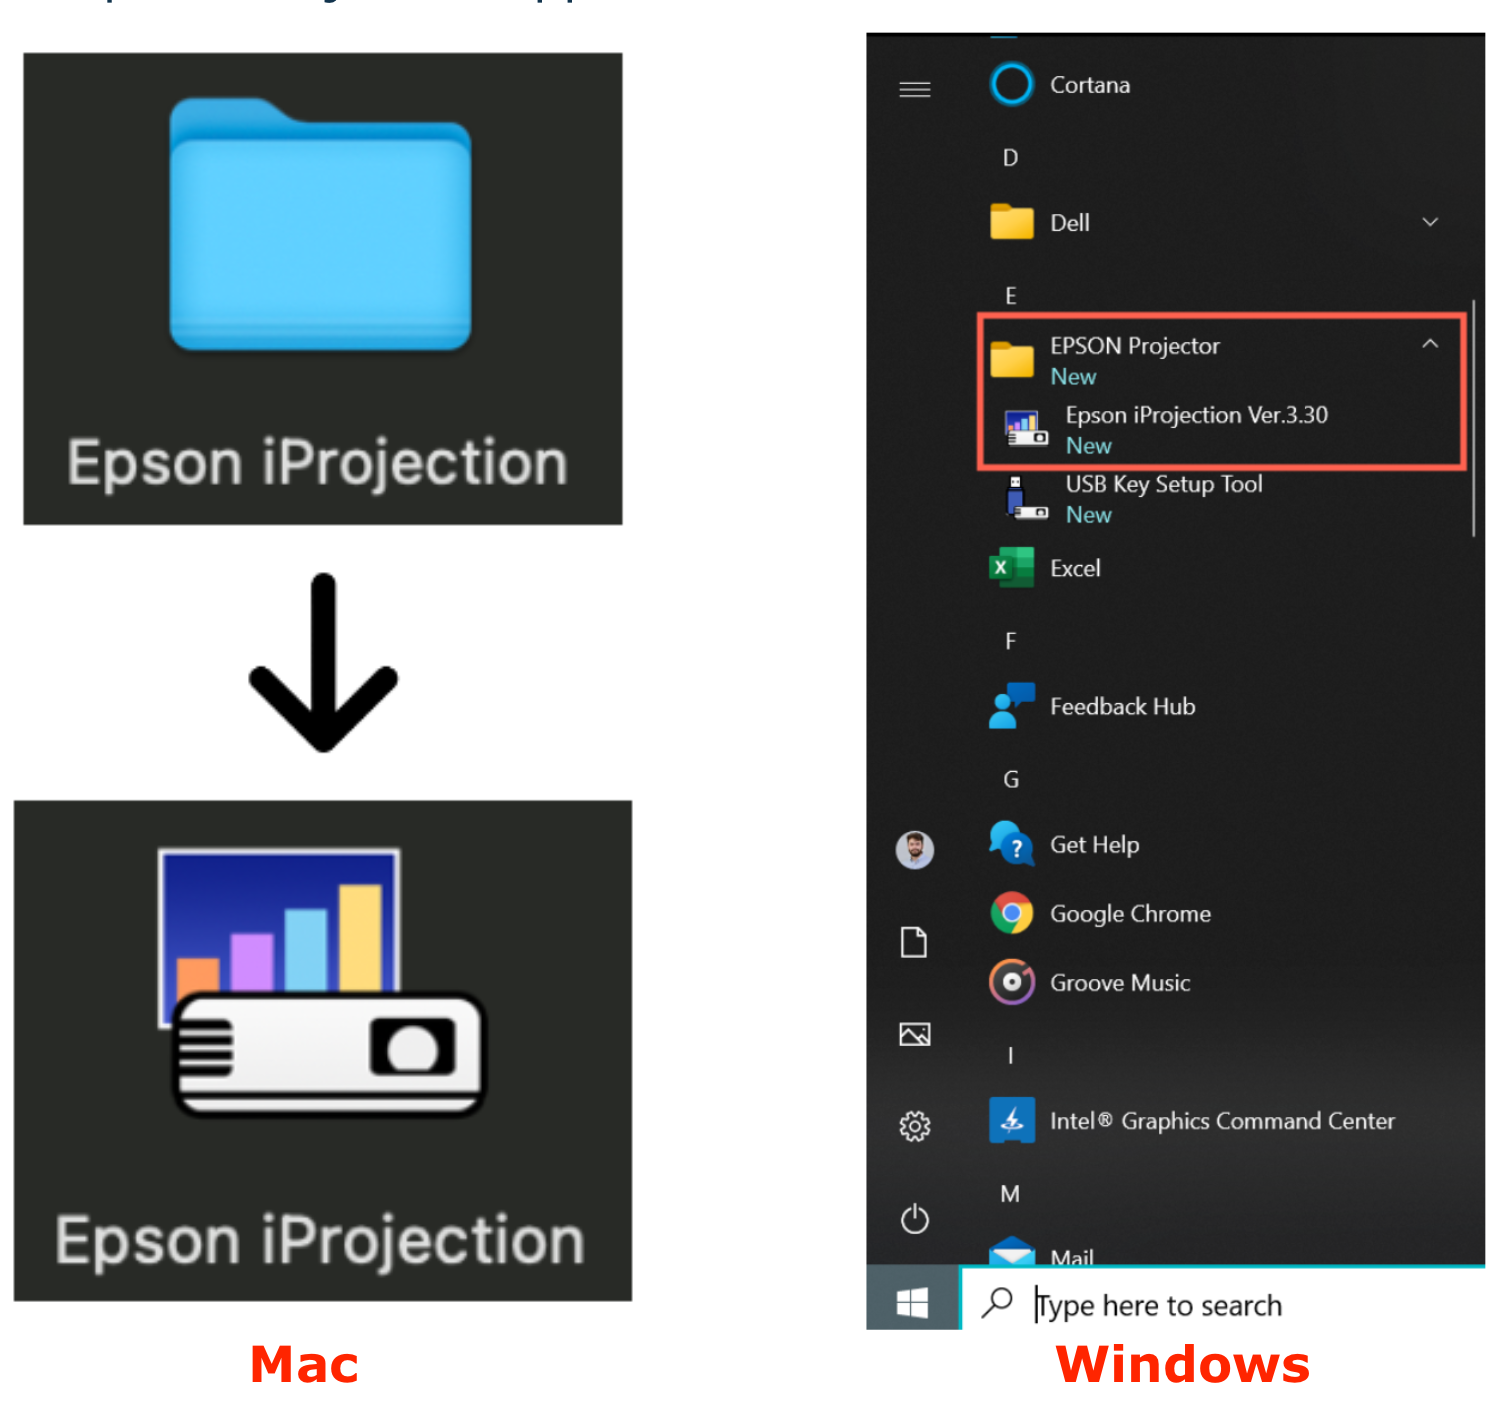
Note: The app can be found within your Applications area for macOS, or the Start Menu for Windows.
Step 2: Configure App Settings
If you've never opened the application or did not set it correctly, you'll receive a "Select Connection Mode" pop-up when opening iProjection.
- Check the Advanced Connection Mode box
- Check the "Set the selected Connection Mode as the default..." box.
- Click OK
Step 3: Find the Projector
Next, we need to find the projector to connect. We'll be using the information displayed on the projector in the Wireless input to find the project.
- Select Manual search.
- Within the "Projector list" box, enter the numbers next to the "IP Address" label displayed on the projector screen.
- While using the Wireless input, the projector will display the IP address and other information, which consists of a sequence of 4 numbers separated by dots (e.g. 10.26.117.23).
- Select the Search button.

Note: Each projector will have a unique IP address, so yours will be different from the one pictured above.
Step 4: Connect to the Projector
Now, the room's projector will appear on the list. 1) Select the check box found to the left of the projector status column to highlight the option, then 2) Select Connect to finish connecting to the projector.

Projector Controls
When you connect with the Join button, your screen will mirror to the projector, and you'll find this control panel floating on your display.
-
Share: When this option is highlighted in blue, it means your screen is actively being shared with the projector.
-
Mute: When this option is selected and highlighted in blue, the projector screen will darken and the connection will be muted. This means that viewers will not see your screen until you manually press the Share button again. This is ideal when you need to attend to sensitive information but don't want to disconnect from the projector.
-
Pause: This option is the Pause button and will freeze your shared screen. The projector will remain on the shared image until you click the 'Share' button again.
-
Moderator Controls: This option allows you to open the moderator control panel, which is great for managing the screens when students are connecting to the projector. You can control which screen is shown and manage other screens on the fly.
-
Leave: This button will disconnect your sharing from the projector. It requires a second prompt to be accepted, so you cannot accidentally disconnect.

Wireless Classroom FAQ
Why am I unable to connect?Ensure that the IP Address was entered correctly and that you're connected to either the uiw-employees or uiw-students WiFi networks. Connecting with uiw-guests is not possible.
What if I connect to the same classroom frequently, do I need to enter the projector info every time?You can save a projector's information to your iProjection app for quick connection. This is ideal if you're presenting in the same space frequently. Learn how to save an Epson projector's address for quick connection.
How can I connect with an iOS, Android, or Chromebook device?Learn how to begin using iProjection on different devices with the resources provided below.