Badges Step 2 of 3: Create a Badgr Issuer Account
This guide will walk you through creating a Badgr issuer account, the second step to issuing badges within your Canvas course.
- Enable Badges in your Canvas course Settings > Navigation.
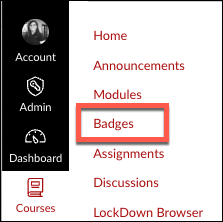
- Find Badges in your course menu.
- Review the Terms of Service and click Continue to access.
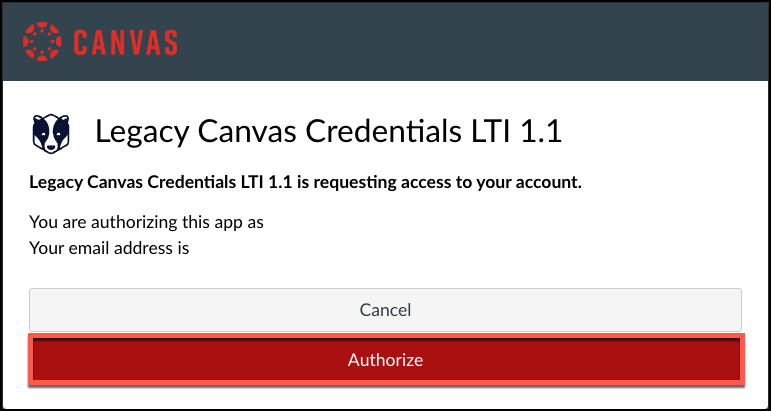
- Click Authorize to Legacy Canvas Credentials LTI 1.1 to proceed.
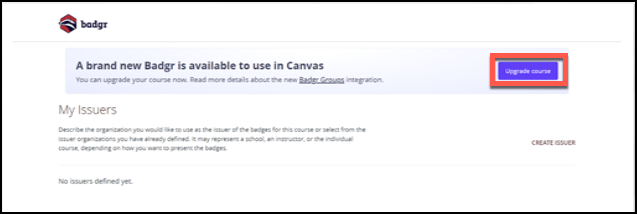
- Upgrade for the latest Badgr.
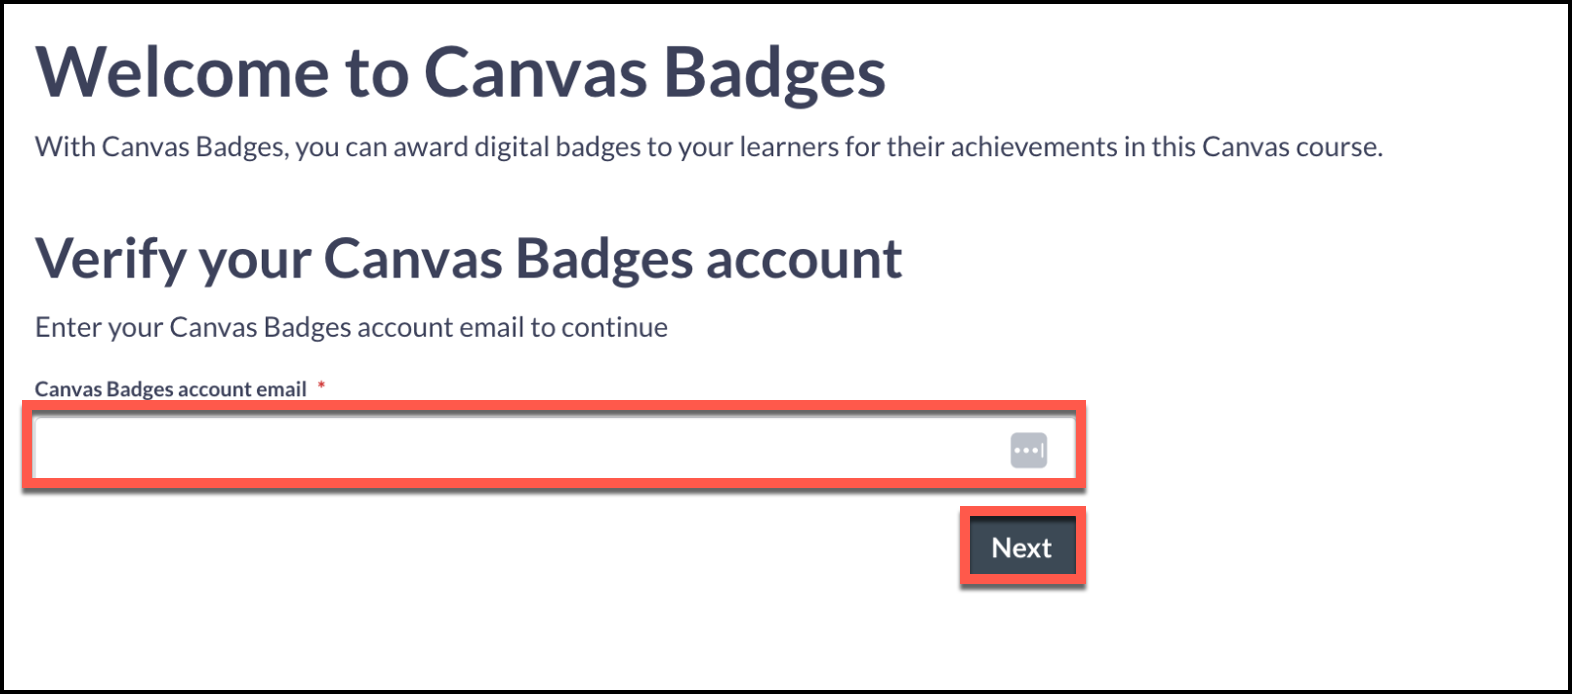
- Link your course using your UIW email for verification.
- Select Create issuer.
- Fill in the Issuer information.
- Click Create Issuer to complete the process.
Need more detail?
Delve into the in-depth walkthrough below, complete with images and various notes for every step.
Step 1
Within your Canvas course, if you don't see Badges in your course navigation menu, head to Settings > Navigation to enable it.
Step 2
Navigate to the Badges in your course.
Step 3
Carefully review and agree to the Terms of Service and click Continue to grant your access.

Step 4
Authorize access to Legacy Canvas Credentials LTI 1.1 to proceed.
Step 5
If this is your first time using Canvas Badges, you'll likely need to upgrade your course. Click on the Upgrade course button to get the most up-to-date Badgr version.
Step 6
You'll be asked to link your canvas course with your Badgr account. This may involve entering your UIW email and verifying a code to authenticate your account.
Step 7
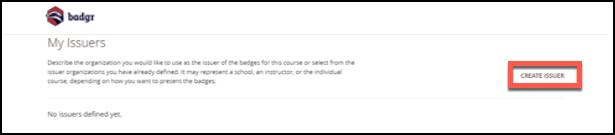
Once your account is authenticated, look for the Create Issuer option on the right side of the screen, and follow the prompts to set up your issuer account details.
Step 8
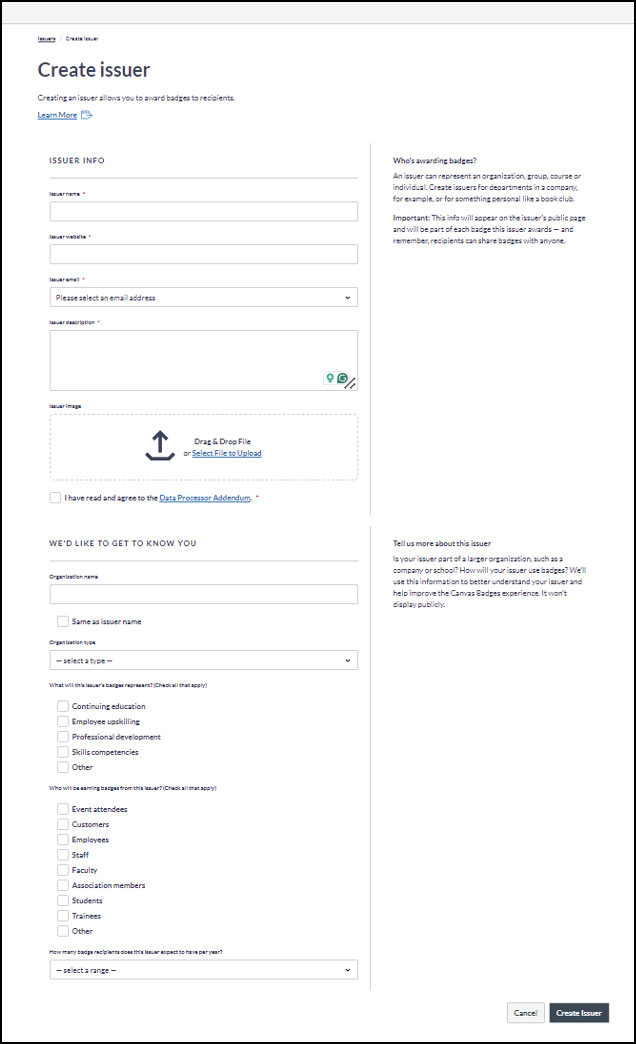
Follow the prompts to set up the issuer account:
- Enter details: Name, Website, Email, Description.
- Upload an image or a logo.
- Review & agree to the Data Processor Addendum.
- Complete questionnaire.
Step 9
When you are done, click Create Issuer to create your account.
Badgr Issuer Account FAQ
How do I create a badge?
To have the most creative freedom, consider PowerPoint or another image editor. For a simpler option, consider creating a badge image in Canvas Badge Studio by skipping this section.
- Canvas Badge Studio
- PowerPoint.
Follow this guide to design your badge: Step 1: Create an Image and Add a Badge to Canvas
How do I award a badge to a student?
Once you have designed your badge and created your Badger Issuer account, follow Step 3: Awarding Badges guide to walk you through the steps.
